Who doesn't know this: looking for the perfect gift for your loved ones, looking for something special, looking for something unique. Designing, embellishing and individualizing things yourself is incredibly fun. I've fallen for the DIY craze.
So what happens when it's Spe's niece's birthday and she gets a children's kitchen as a gift? Exactly, she gets a self-sewn cooking apron! But not just a simple, self-sewn apron. No, a DIY apron from the label 'Ganstoll'.

Now you're probably wondering what the name 'Ganstoll' is all about!? My family has the peculiarity of creating a new name from two surnames, that of the child and the partner. And my friend and I together make 'Ganstoll'.
Of course, a label also needs a logo, so I got to work and thought about what my own, very individual logo could look like. And 'tadaaa', that's it:
You need:
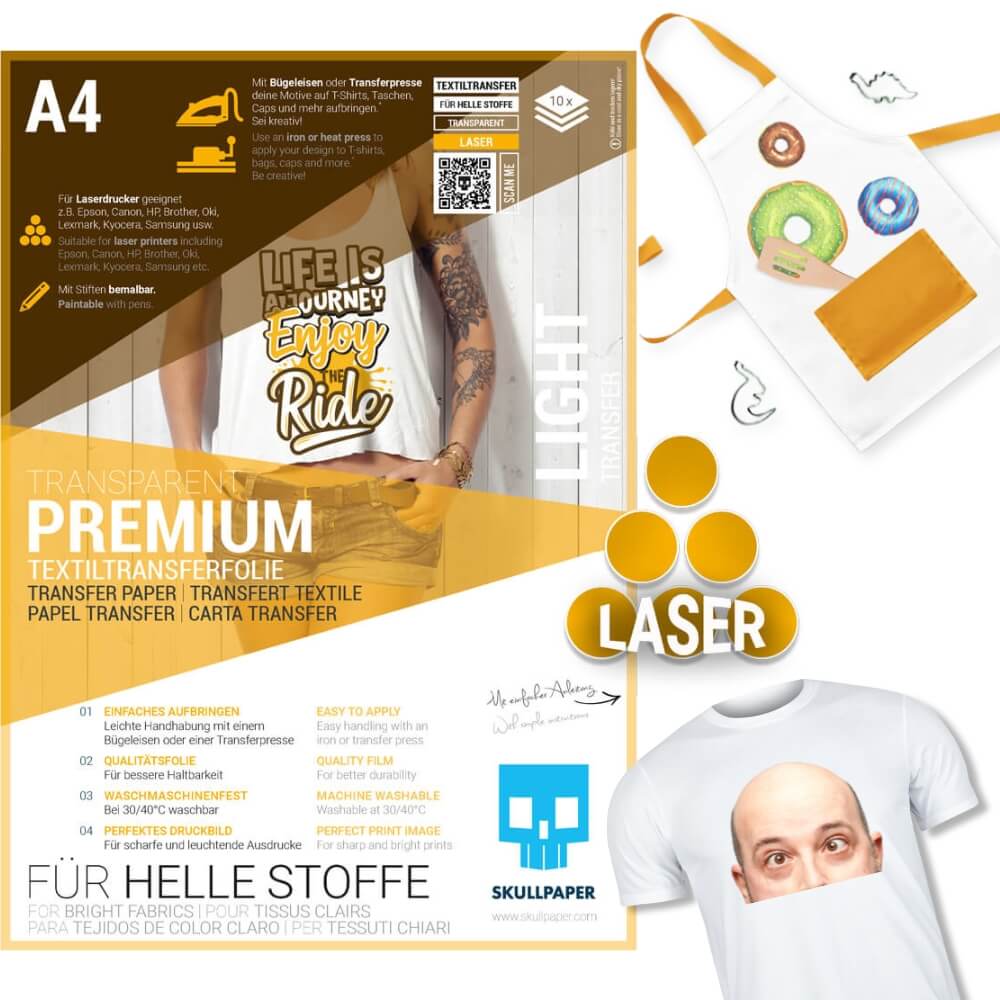
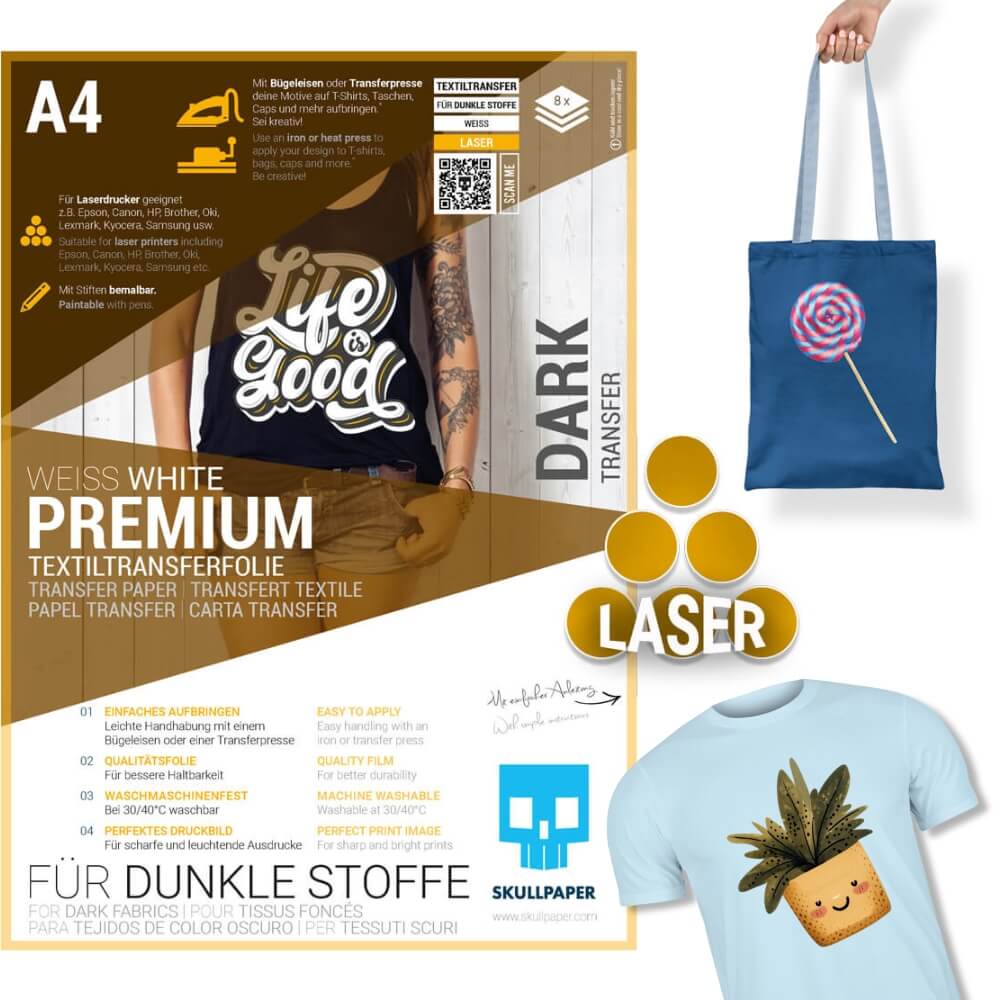
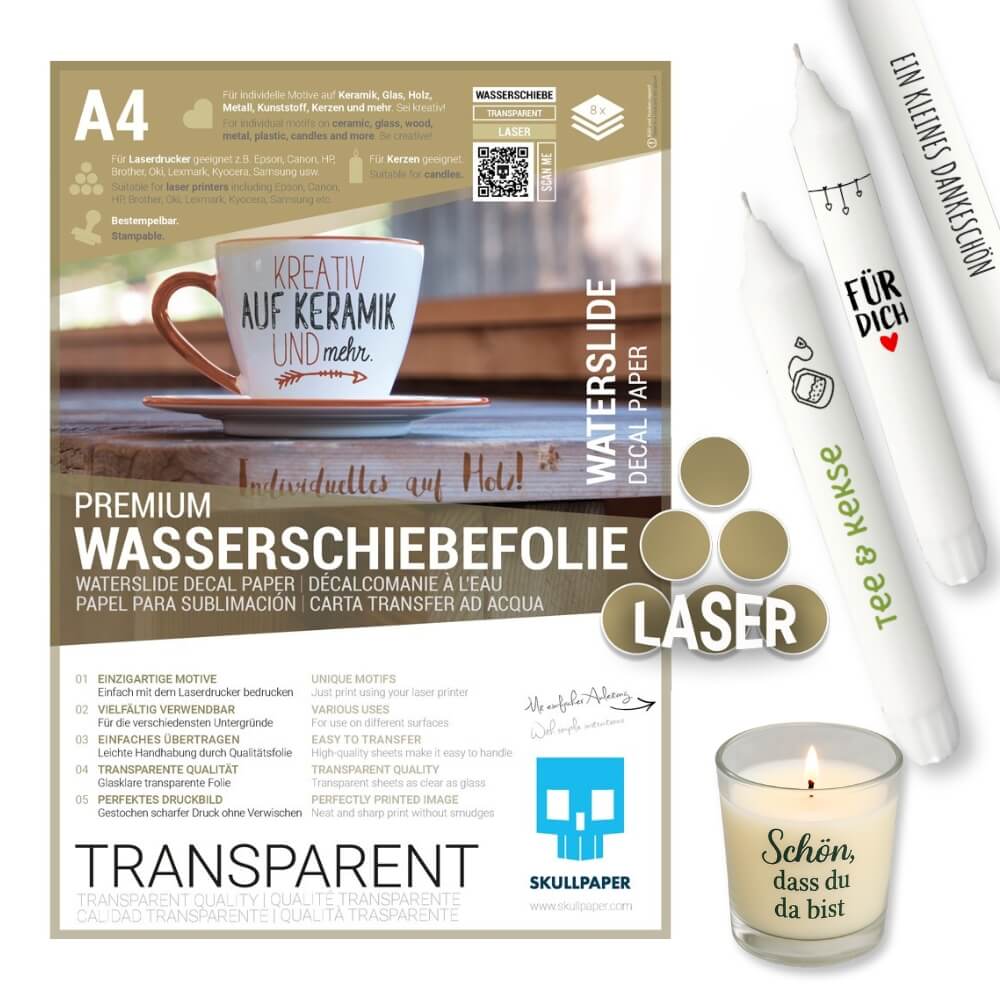
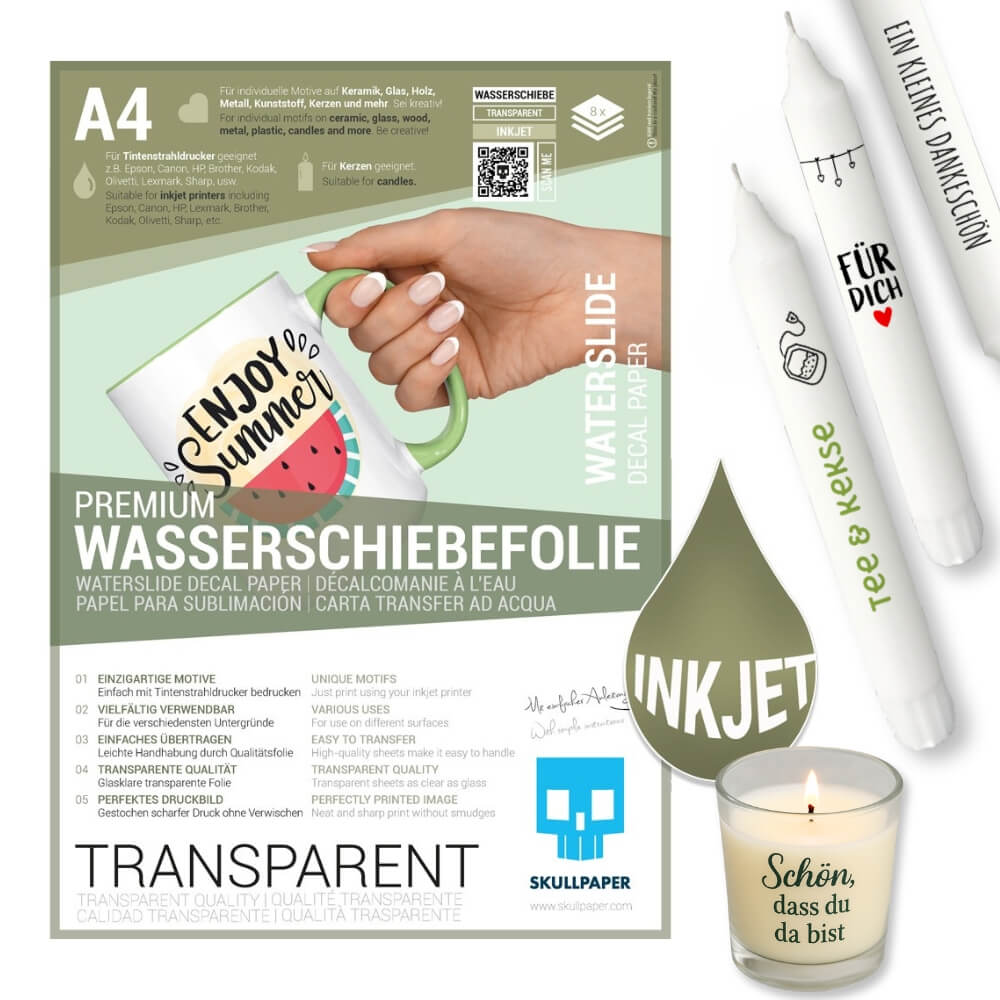
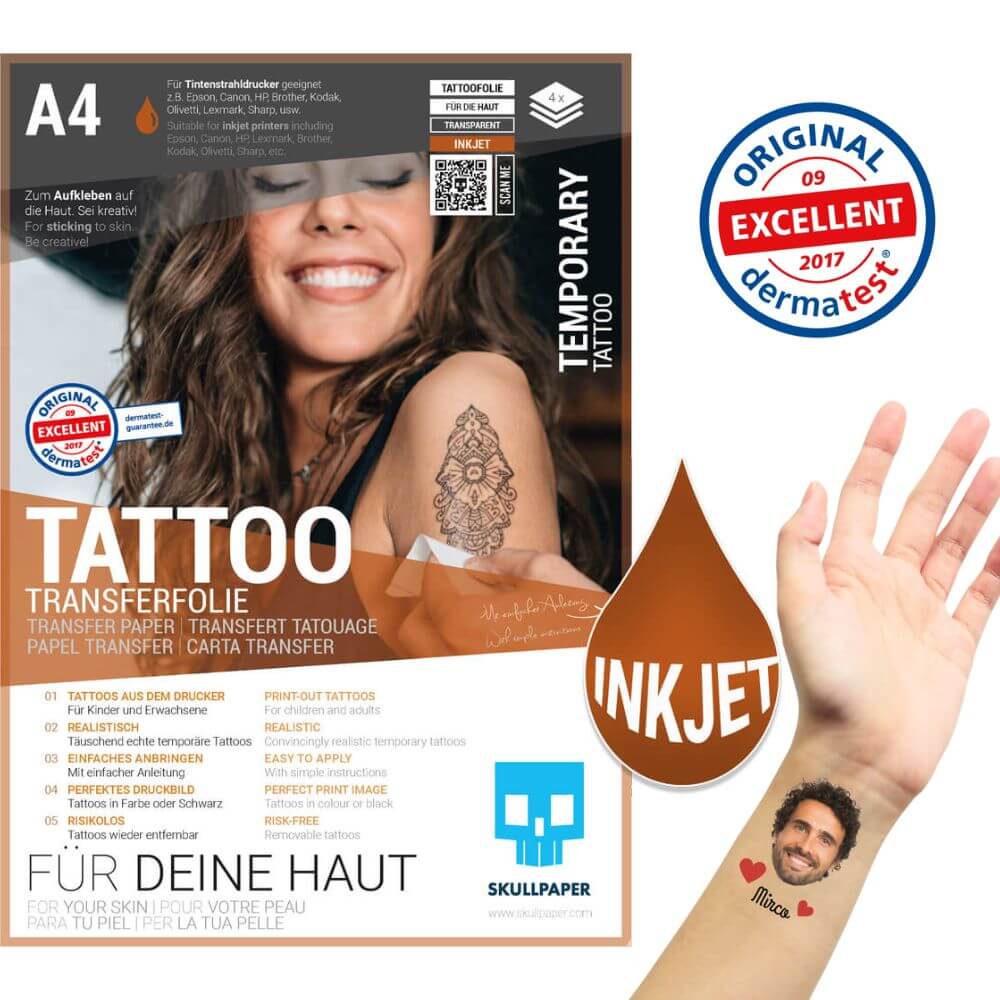
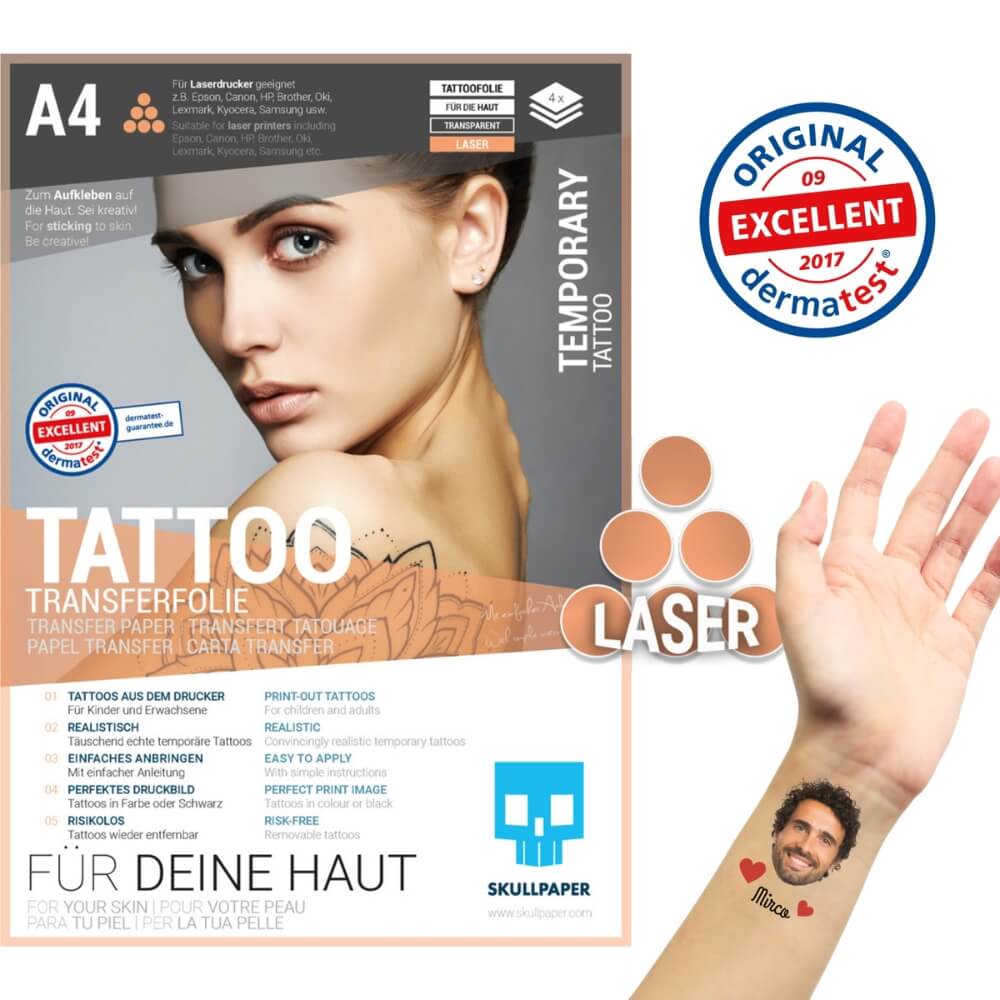
… Textile transfer film from SKULLPAPER
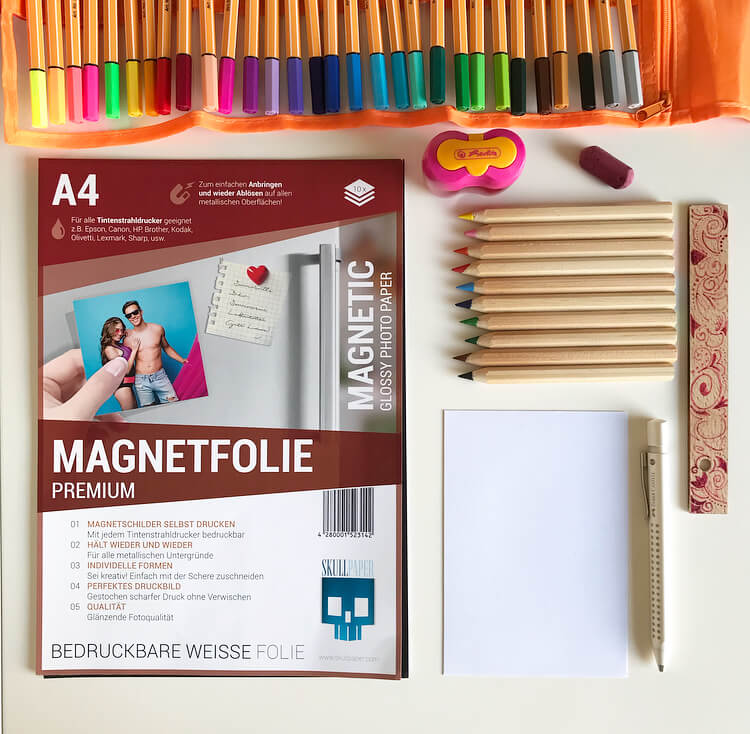
… a Inkjet printer
… Snappap
... a beautiful motif
… a Iron
... a hard, flat and heat-resistant surface
You have to print your motif mirror-inverted on the SKULLPAPER transfer film. You can set this in your Word, image editing program or in the print menu. By ironing it on, you essentially turn your motif back in the right direction.
I duplicated my logo and printed it several times on a transfer film.

Now I can put my huge fingerprint on many DIY things.
Follow the steps in the instructions included with each Skullpaper pack.
I ironed the logo for the children's apron onto so-called “snappap” to make the motif stand out a little from the patterned fabric. After all, everyone should be able to tell at first glance that it is a DIY apron from the 'Ganstoll' label.

You can also iron your motif directly onto the textile material. Here you just have to make sure that you use the right foil. SKULLPAPER offers the film for light and dark fabrics.
On my first attempt I was a little too fast and ironed improperly. This meant that the motif could not be completely transferred from the transfer film to the Snappap.
Therefore, make sure that you use a flat, hard and heat-resistant surface and set your iron to the highest temperature setting. Now iron the entire picture with even movements. The ironing time is between 1 and 3 minutes depending on the size of the motif.

I was successful on my second attempt. My DIY logo landed completely and cleanly on the textile. It is important that you let the fabric and transfer foil cool down afterwards. When the cover film is lukewarm, you can peel it off slowly and carefully. And 'tadaaa' your homemade project is finished.
I think my logo turned out really great and gives the homemade product a very special touch.


Not only did the apron get a logo, my DIY goose T-shirt was also decorated with my very own fingerprint.
I found the picture of the goose online, printed it on the transfer film from SKULLPAPER and ironed it onto my T-shirt.

The company's own logo has now found its place on the sleeve.

The great thing about the transfer film is that you can easily wash the textiles at 30-40°C. ... and if the colors have faded a little after washing several times, you can simply cover the print with baking paper, iron over it and the colors will shine again.