The first state exam was passed and I finally had time to devote myself to my creative side again. So I got straight to work and used the DIY products from SKULLPAPER to create great fan items for the World Cup. Everyone can see that I am a fan of our German football team. Unfortunately the German team was eliminated early, but after the World Cup is before the European Championships!

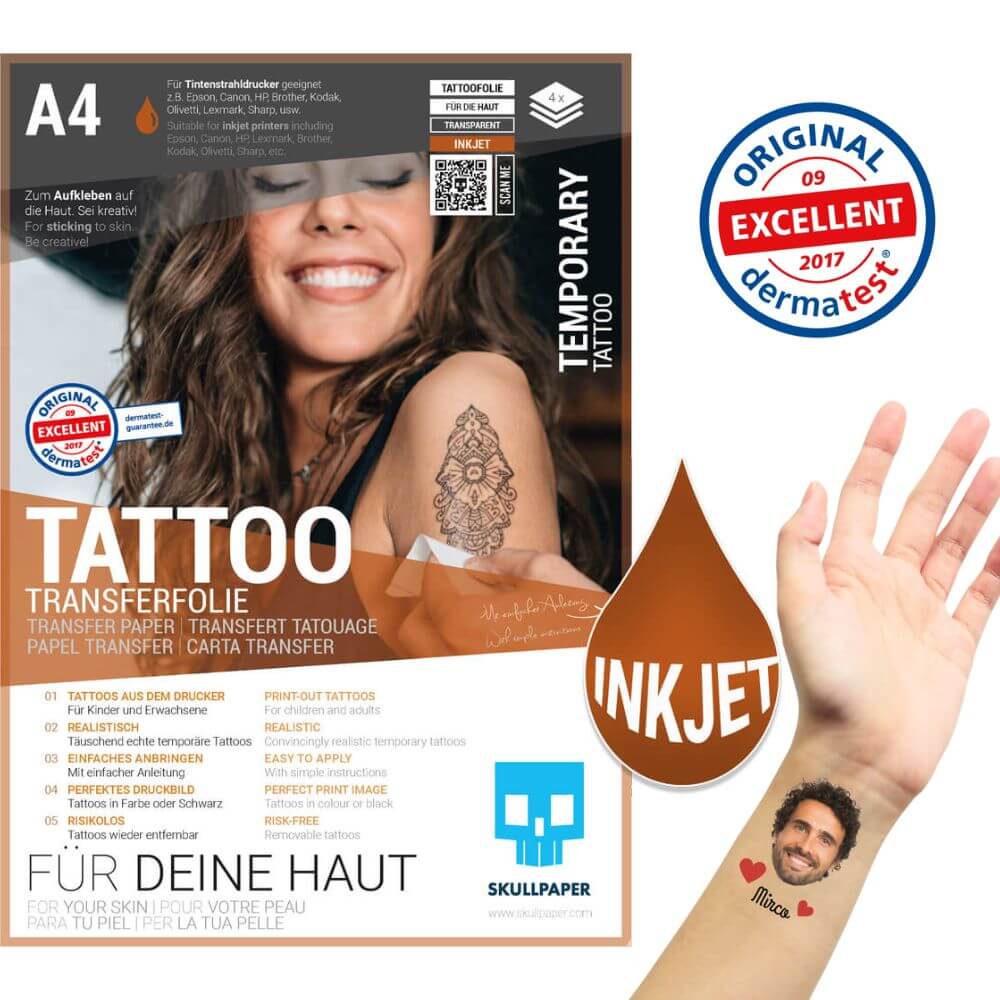
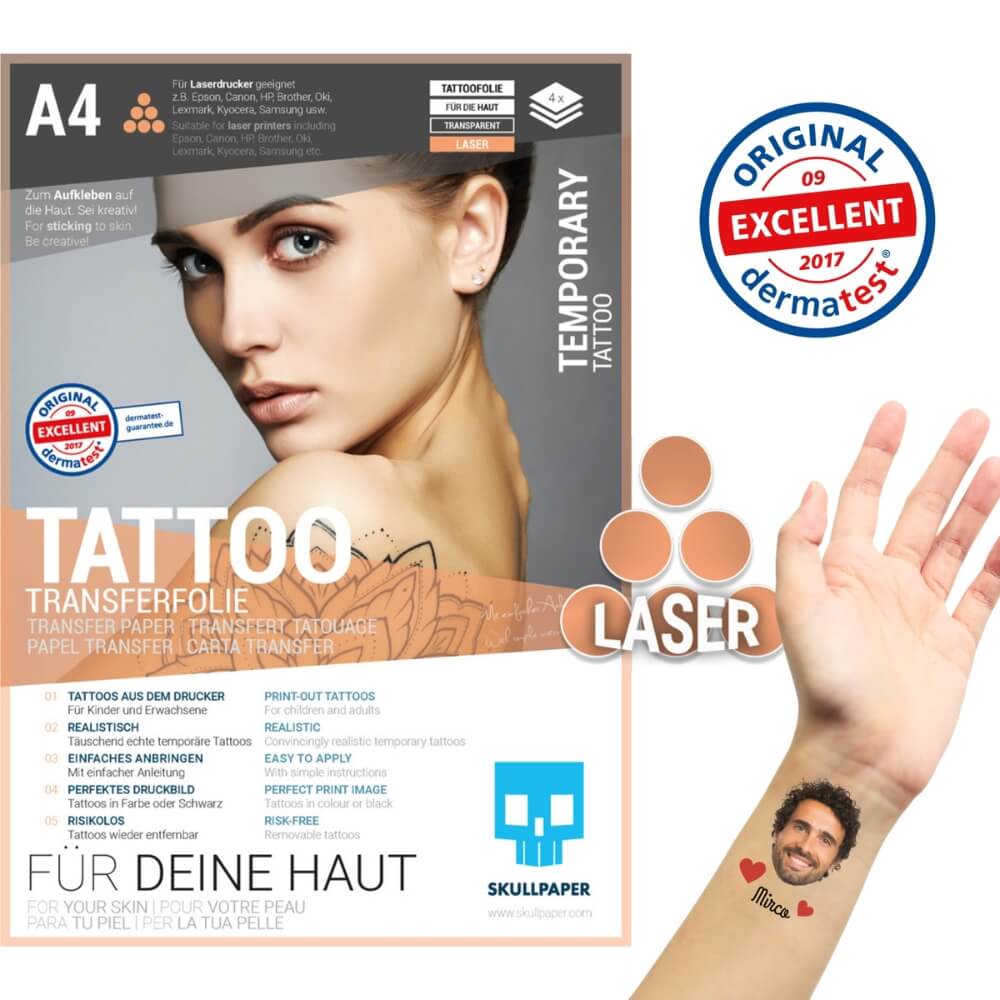
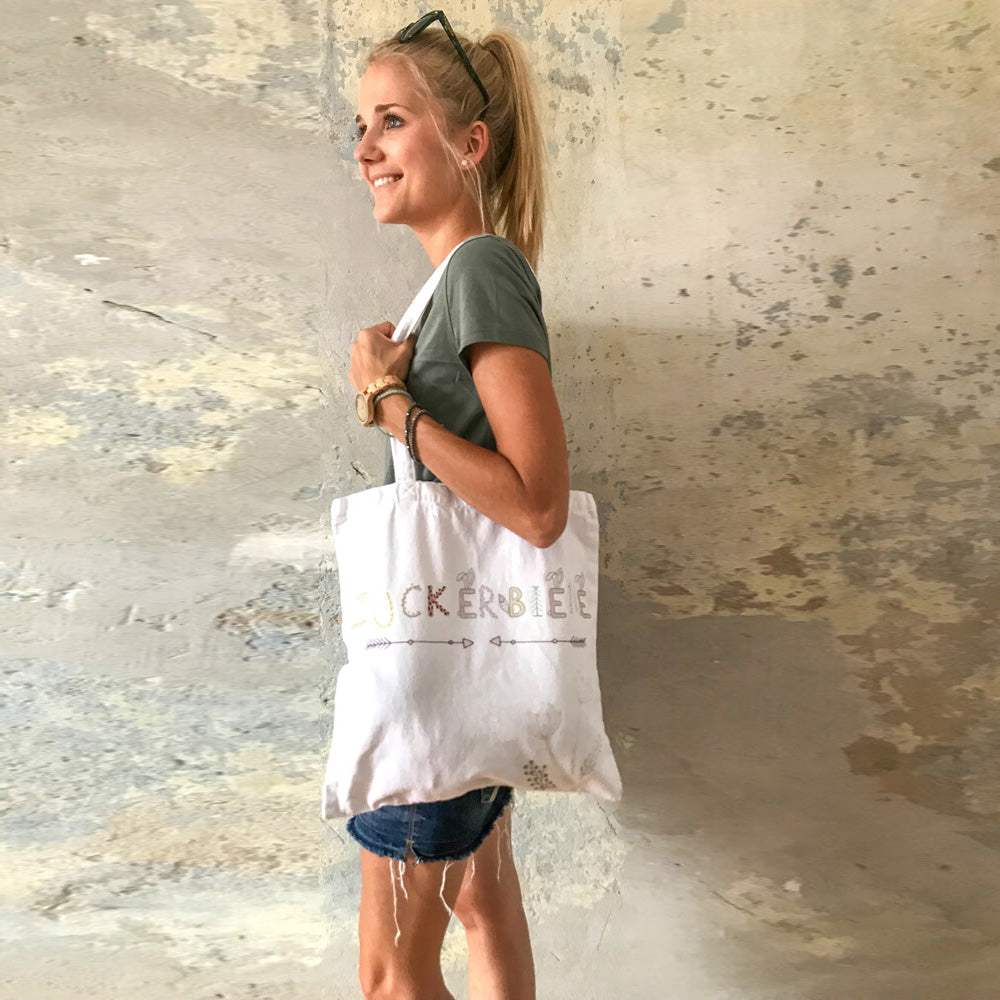
I have often toyed with the idea of getting a tattoo. But the big question is what motif: an anchor, as a symbol of a loyal soul? A nice saying, but mostly based on the current emotional state and mood? Or would you rather have a floral ornament or a small sugar bee? A decision that I have to be 100 percent sure about, after all, I would have this tattoo for the rest of my life. A decision that I haven't been able to make yet, or maybe I haven't wanted to. A decision that I no longer have to make thanks to the DIY tattoo transfer film from SKULLPAPER: today I'll wear a bee, tomorrow a Maori pattern and next week a nice quote, maybe. How it works? Very easy.
You need:
... tattoo transfer film from SKULLPAPER
... an inkjet printer or laser printer
... a ruler or squeegee
… one Scissors
and a beautiful one motive
With the help of paint and, above all, the help of my friend, I created some beautiful motifs in the colors of the German flag to match the World Cup: a small sugar bee for me, a cinnamon blossom for my mom and footballs, flags and so on for the rest of the group.


A good friend of mine had her boy create his own pineapple. This too is currently shining in black, red and gold!

But how do these great motifs get onto your skin?
First, print your motifs on white tattoo transfer paper. Make sure that you mirror your motifs horizontally. This is especially important if your motif contains lettering. Place only a single sheet in the printer feeder, select “optimal photo quality” and “plain paper” in the printer settings and click the printer button. You should let the finished print dry for one to two minutes.

Next you need the transparent film. Place your printed tattoo transfer paper on a solid surface with the print facing upwards. Carefully remove the transparent tattoo film from the yellow backing paper.

Now try sticking the foil onto your print. Start here on one side and work your way to the other side. This process takes a bit of patience, but the result is well worth it and not as difficult as it sounds.


A ruler can help you stick the foil evenly onto the tattoo transfer paper. Once you have completely transferred the foil to your printed tattoo transfer paper, stroke it again really firmly so that the adhesive foil sticks firmly to the paper. This allows the coating of the adhesive film to be transferred to your motif. If small bubbles form while sticking, take the ruler again and carefully brush out the air bubbles.

Now you can cut out your motifs. A very simple pair of paper scissors is suitable here. You should leave a narrow border around the printed image. 2-3 millimeters are enough here.

Now slowly peel the transparent film off your tattoo motif. Be careful not to touch your subject.

Now comes the actually painful part of tattooing - the motif is transferred to the skin. With DIY tattoo foil, this process is of course absolutely painless. Find a suitable spot on your body, clean it and dry it well. Position your motif and press it firmly onto your skin with a damp sponge for at least 10 seconds. The white back of your DIY motif must be completely damp.


You can then carefully peel the white paper backing away from your skin. If you notice that your motif has not yet completely detached from the paper, simply go over it again with the damp sponge. Finally, let your motif air dry and *tadaaa* hey presto you have your own DIY tattoo.
We answer the most important information about using tattoo transfer foil in our FAQs


Are you tired of your tattoo or does it no longer look pretty? No problem either, just take some soap and a sponge and wipe your tattoo. ... your skin is like nothing ever happened!
And because SKULLPAPER's DIY products are so much fun, I and a few friends designed a batch of World Cup fan shirts.


You can read how the textile transfer film is processed and how the motif is applied to your textile in my previous blog posts or in the enclosed instructions.
We also made a brilliant World Cup outfit for the little niece and the newly born nephew.

The little man got a romper with a cute soccer diaper bottom and the lady got a shirt with my sugar bee surrounded by soccer balls.

My little boy likes it rather simple. He wore a dark shirt with a German flag printed on each sleeve. For this he used the DIY transfer film for dark fabrics.
With that in mind, “CHEERS”… even if our soccer boys weren’t able to impress at this World Cup – I’m a fan! Let's go Germany!

Have I already mentioned that I'm a huge fan of SKULLPAPER's DIY products? This makes it easy to implement creative and, above all, individual ideas and wishes. It's just fun and the results are impressive!
Now it is your turn! Let your creativity run wild and if you want, show me your results on Instagram using the hashtag #myDIYskullpaper
Have fun being creative!