I have to admit, at first I was a bit skeptical and had my doubts as to whether it would really work that easily. A film that is on a paper carrier, which you insert into a laser printer and print, cut out the motif, place it in the water and the film detaches from the carrier and you can then simply stick the motif onto a new container. This is supposed to work!?


Yes it works! All I can say is #crassershit. I am really excited about the water slide film from SKULLPAPER and am 100% convinced of it.
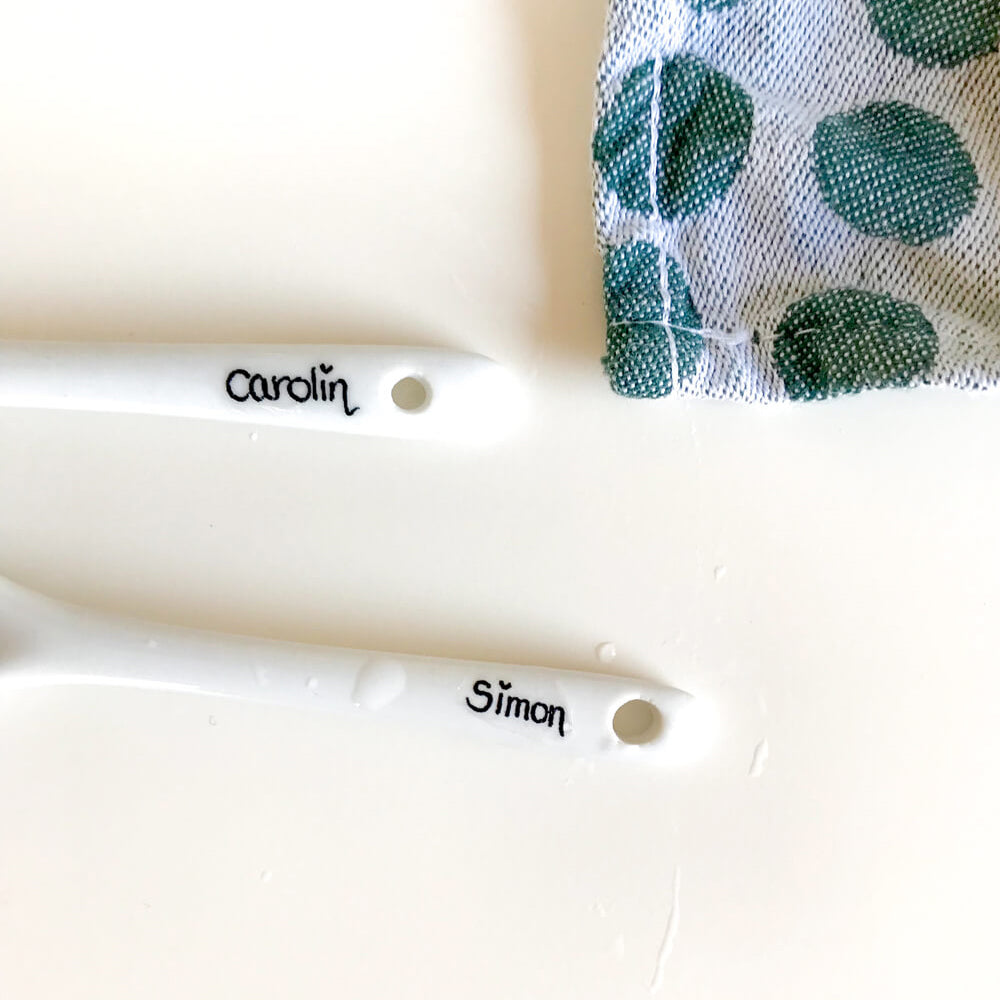
If the HerzBub jumps over his shadow and moves to the Palatinate for me, then of course he needs his very own Dubbeglas. But he wasn't the only one who got one. As you may remember, we both have a blast together. So I got to work and labeled some great glasses for both of us.


Here I printed the motifs mirror-inverted because I wanted to apply them to the underside of the glass. This means you can read what's at the bottom of the glass while you're drinking.
Some claim that I entered the DIY tableware industry. All of the dishes in my kitchen cabinets are currently getting my very own DIY fingerprint. And it doesn't take much...
You need:
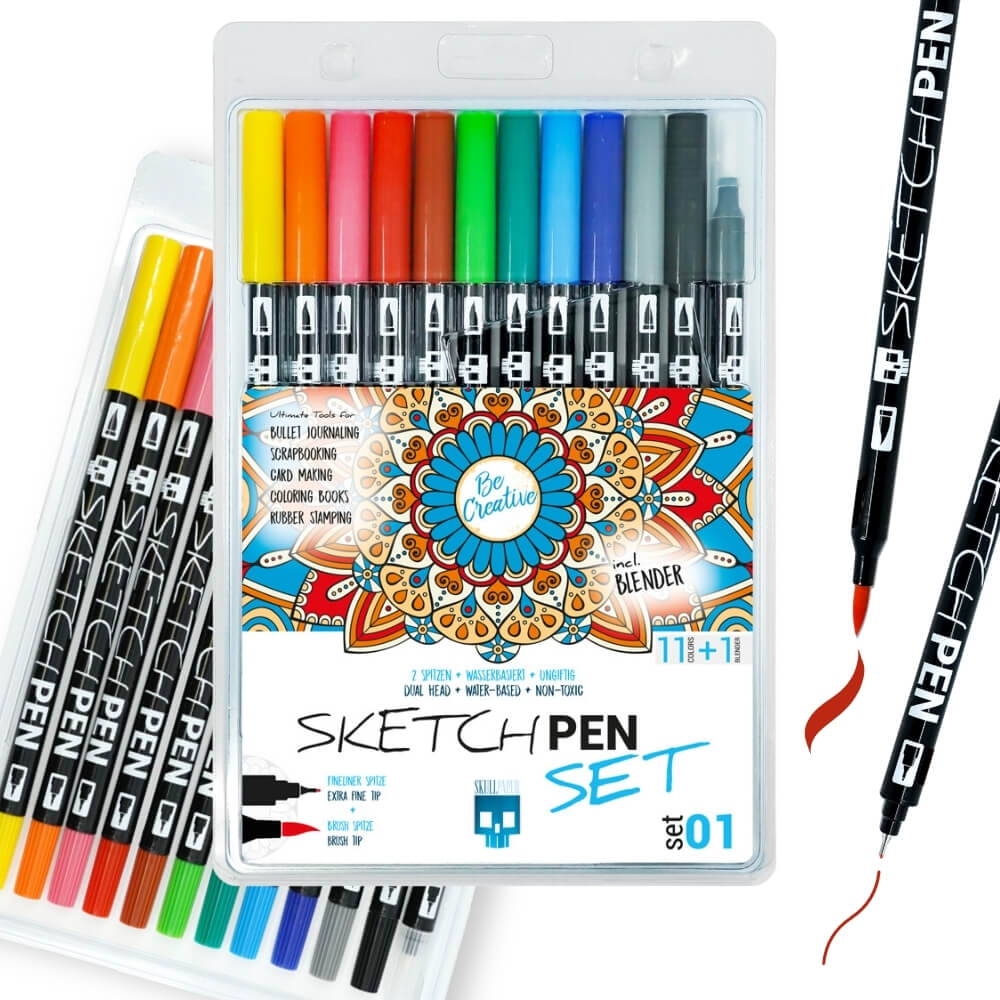
… Water slide film by SKULLPAPER
... a creative idea for a motif, a saying or an image
... a laser printer
… a scissors
... a container with water
... a tea towel or towel
...if necessary, acrylic-based clear varnish
This time I wrote or painted some of my motifs myself. Of course, you can also use photos, motifs from Skullpaper's motif collection or other images.
In order to make optimal use of a DIN A4 side of the water slide film, I filled every free gap and printed a lot of different motifs on one side.

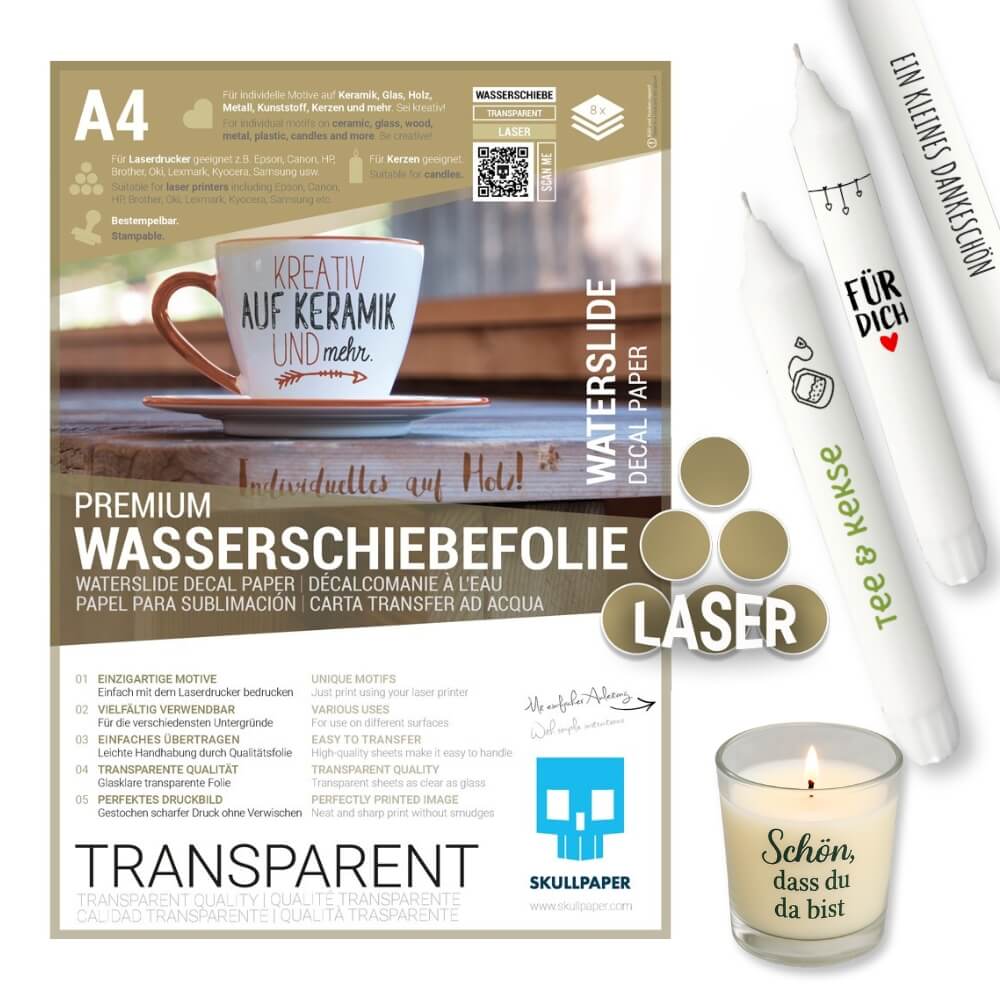
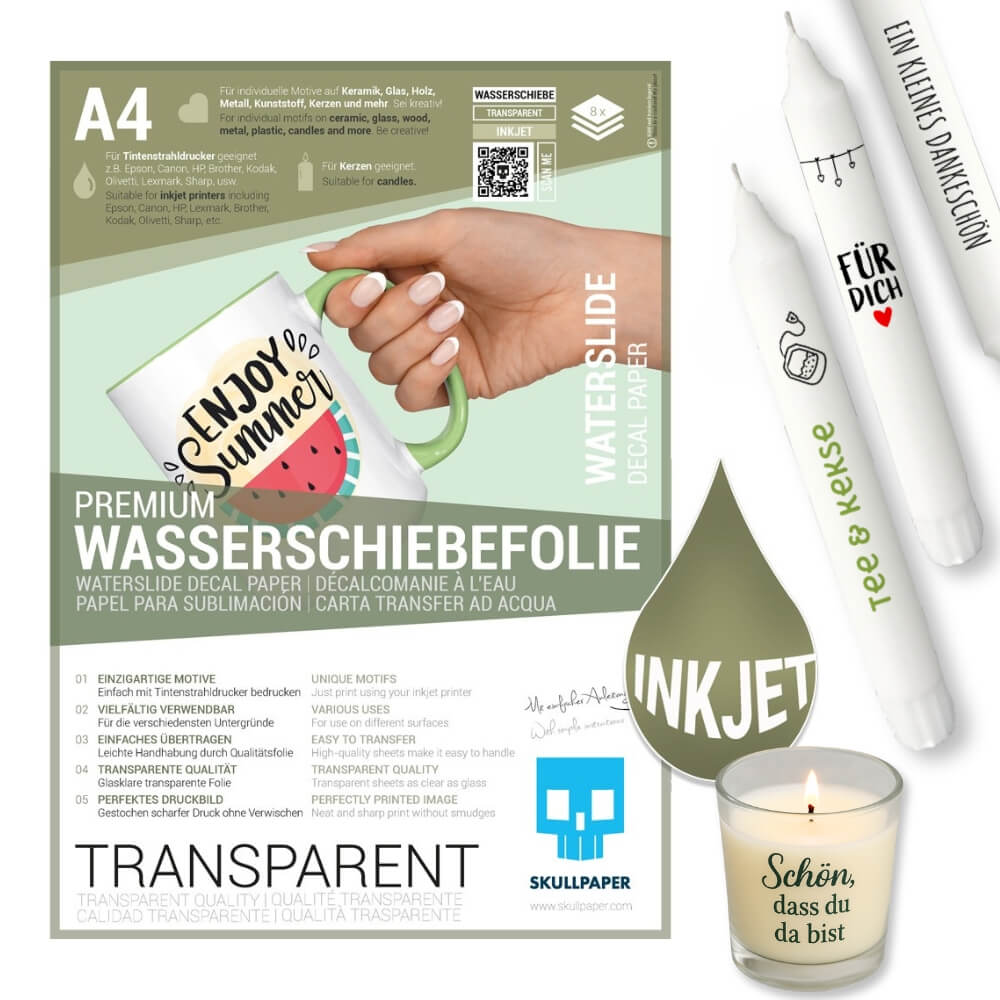
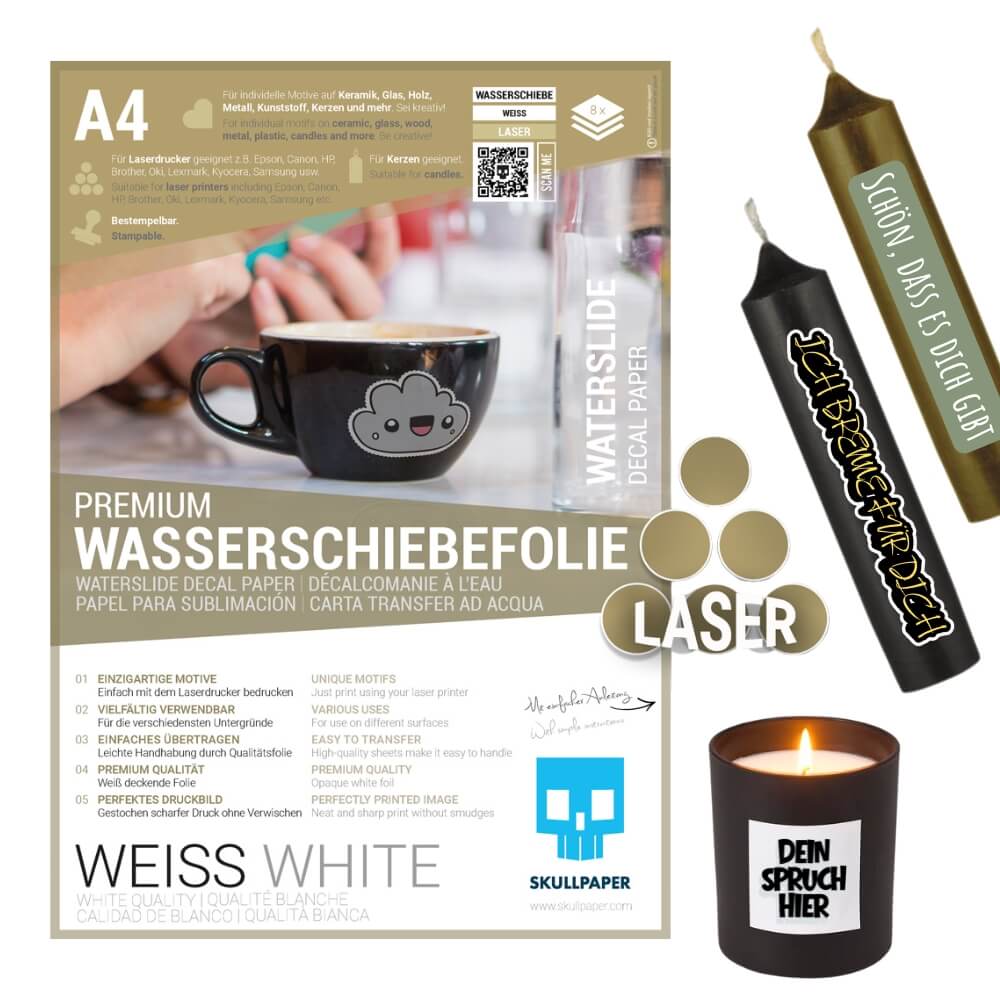
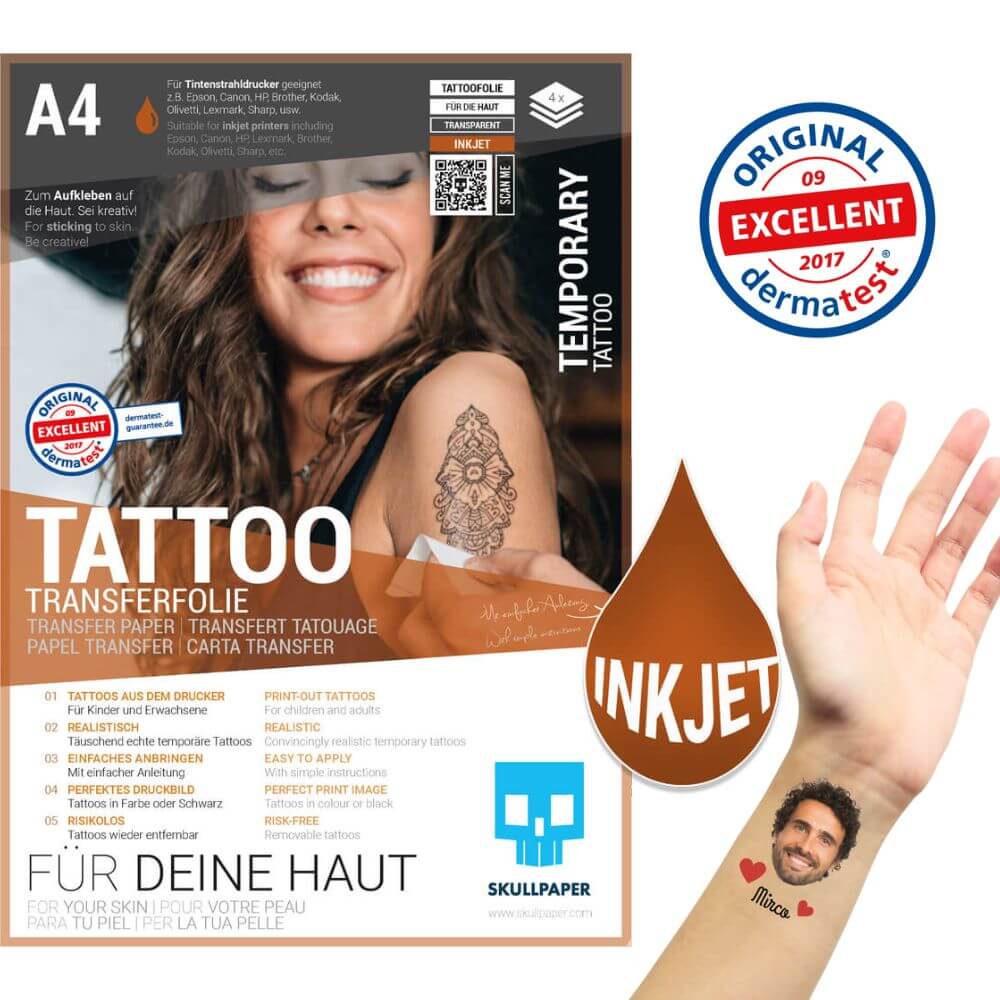
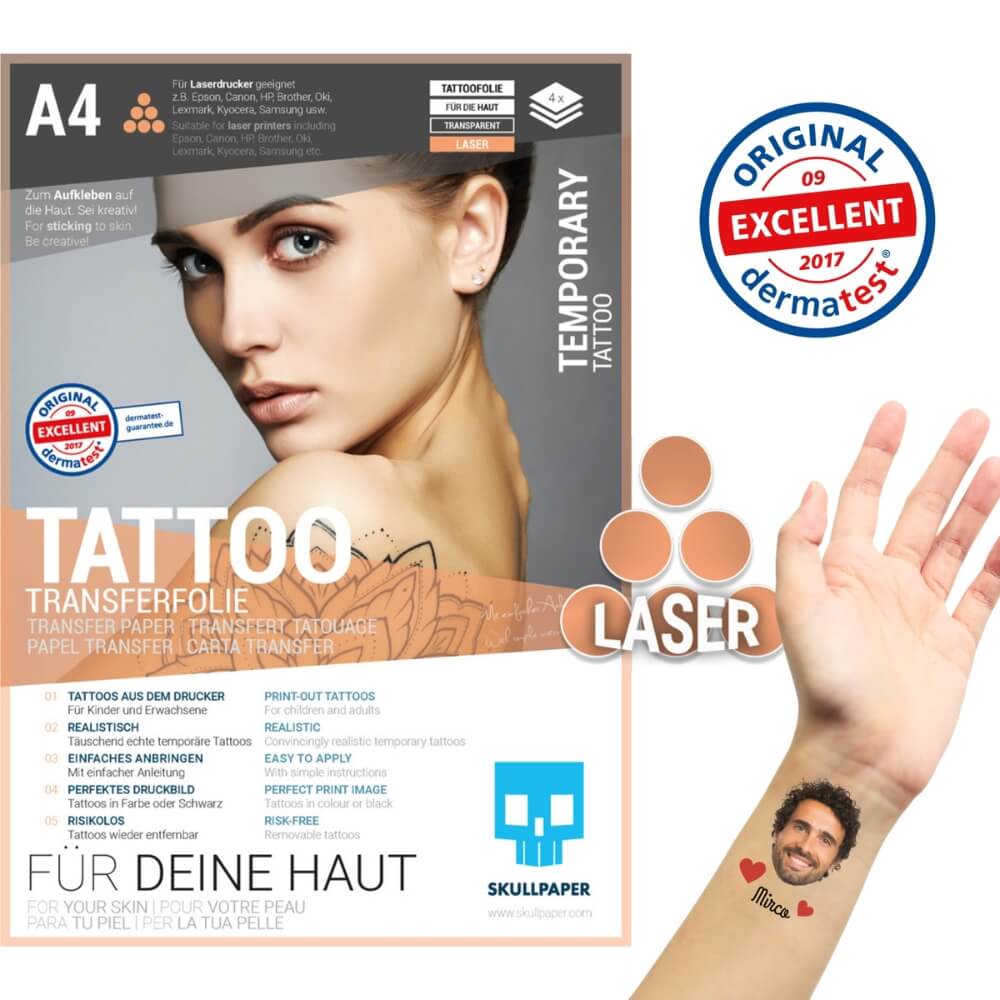
For the water slide film from SKULLPAPER you urgently need a laser printer. The film is not suitable for an inkjet printer.
Once you have arranged your motifs using your design software, select “Photo quality” and “Thick paper” under the settings in the printer menu. Make sure that you load the foil into the printer as a single piece of paper and print your designs on the shiny side of the foil. Wait a moment, let it dry and you can start cutting out your motifs. Simple paper scissors are suitable here.
To give your motifs additional durability and protect them from scratches, for example, you can seal them with an acrylic-based clear varnish before removing them from the paper backing and applying them to a new container.
Now comes the most difficult, but at the same time most fun and exciting part in your DIY tableware production.
Take your cut out design and place it in a lukewarm water bath for 30 to 60 seconds. You will notice when the foil separates from the paper.

If the film can be completely removed from the carrier, carefully slide your motif onto the new container. If you moisten your container a little beforehand, you can slide the foil back and forth and position it correctly.

Once you've found the right position, make sure your design is free of wrinkles and bubbles. Here you can run your fingers over it until it is clean and you are satisfied.
Now take a tea towel and carefully pat your motif dry. If you have moistened your container a little beforehand, you must proceed particularly carefully and gently. The water makes it very easy to move the film.


Now your DIY vessel just needs to dry thoroughly. Set it aside and let it air dry for 24 hours. If you want to speed up the drying process and your container is heat-resistant, you can also use a hair dryer or oven. Simply place your container in the oven at 100 degrees for about 20 minutes or hold the hairdryer over your motif for a short time. But you should make sure that your container can withstand the heat.
By sealing it with a varnish, which you can apply now, and letting it dry completely, you will give your dishes a longer shelf life. Your motif is already very strong and protected from scratches thanks to the laser printing, but better safe than sorry. If your clear varnish is a spray varnish, I recommend applying it to your motif before removing it from the paper backing. This way you don't have to spray your entire container with the paint.
Once your dishes are completely dry, you can put them to use and call yourself a DIY tableware maker.

As a precaution, I washed my DIY spoons, the milk jug and the Dubbe glasses by hand. But I generally like to do that if I care about the dishes or porcelain. This way I can be sure that the dishwasher won't fade the beautiful prints or even remove them.
But I can imagine that you can also wash your DIY dishes in the dishwasher on the not so hot Eco cycle. The protection provided by the applied clear varnish should be guaranteed. Just try!
And should I tell you something? The water slide film is not only suitable for ceramics and glass, it also sticks to wood, metal and plastic, to candles and soaps... I think there is hardly a surface that the film cannot be applied to.
I am far from finished with my tableware production. I still have a few pieces that I want to print. And you know what? SKULLPAPER also has the water slide film in white. This means you can easily design dark straps creatively and individually. But more on that next time.
Now it is your turn. Be creative, have fun with SKULLPAPER's water slide film and design your own DIY products. If you want, show me your results on Instagram with the hashtag #myDIYskullpaper .
Have fun being creative!