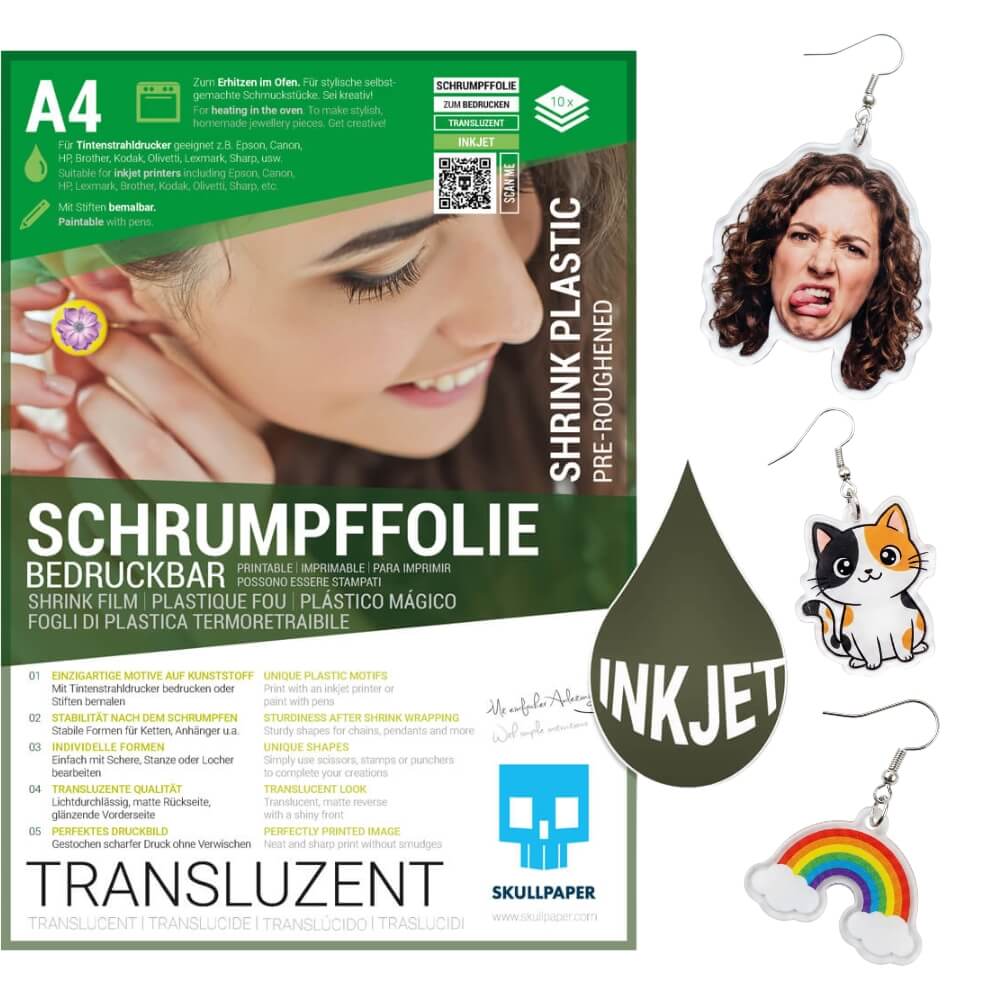
Shrink wrap? Never heard of it… For crafting? Really now? Well, bring it on then!
My first thoughts were one of curiosity. A little Google, a little Pinterest… I was hooked! You print something on this film, then you cut it to size and then it goes into the preheated oven. At around 160 degrees, the shape of the craft piece reduces by about half. The once thin, flexible film melts into a solid, stable and significantly thicker form. All sorts of shape variations are possible. If you don't have a printer - like me - you simply draw on the foil. Sounds really easy. Let's go!
You need:
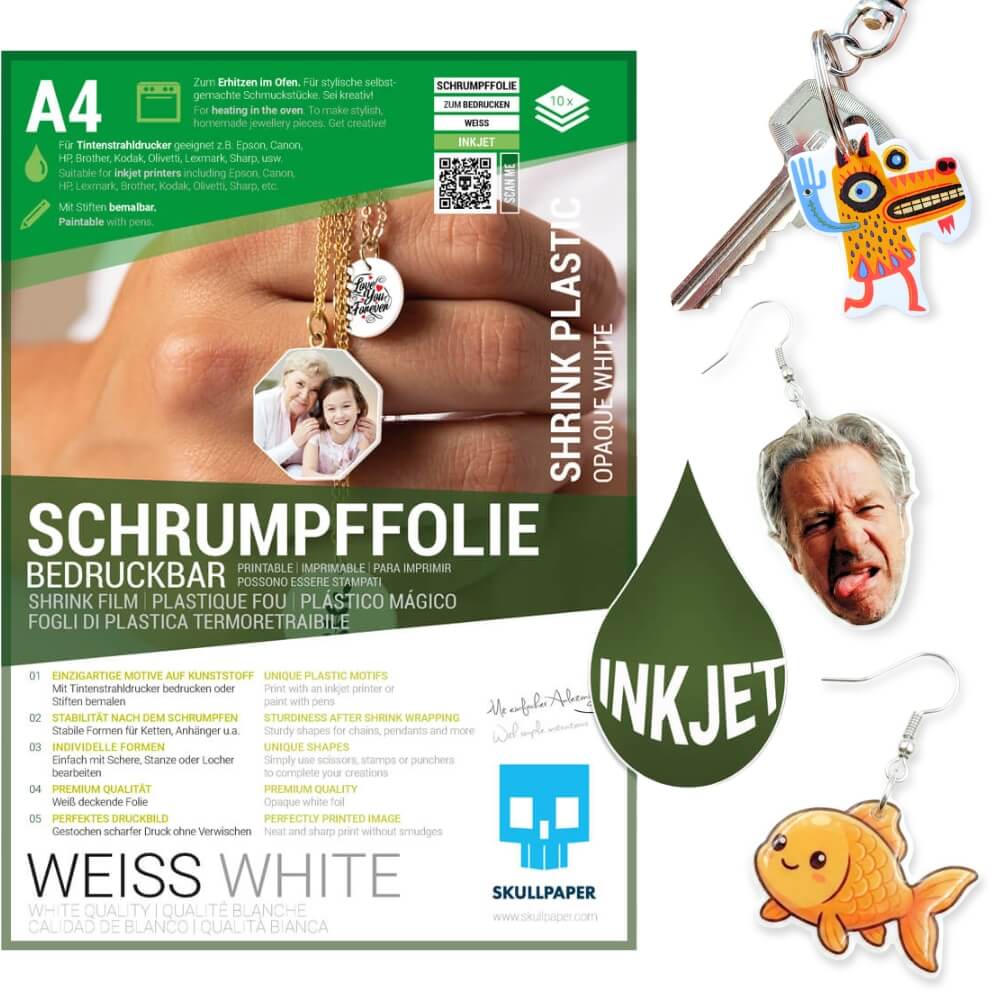
... shrink wrap from SKULLPAPER
... colored pens (I used fineliner)
... an inkjet printer (if you want to print the motif)
... your motif idea
and one Oven , for heating the shrink film
So what should my first project be? With a little skill you could make pendants, necklaces, earrings, even rings with shrink film. It happened that my little cousin was celebrating her birthday - at the sweet age of 13, she was still open to all sorts of knick-knacks. So I forgot my principle of only making useful things and thought about a personalized pendant. To start practicing, I thought I would do something comparatively simple.
As mentioned, I was printerless. So I would have to become artistically active myself. So I drew a few cute animals on the foil with fineliner and cut them out accurately with scissors.


Then things got exciting:
Preheat the oven and put in the shrink wrap. You couldn't look that quickly... oops, the film pulled together in an uncoordinated manner, so that you had to worry that the work of art would be destroyed. But the more uncoordinated the film began to contract in one place, the more controlled it continued in the remaining areas until it had shrunk evenly. This all happened within seconds. The previously large holes that I had previously simply punched and that were intended to attach a key ring had also melted into small, stable depressions. “Great!” I thought.

It takes a bit of practice and experience, I realized: if you leave the foil in the oven for a few seconds too long, you risk that your own work of art can no longer be bent into the correct shape. For example, for a precisely flat trailer, you should take the shrink wrap out of the oven immediately after shrinking and flatten it (I used a spatula). The shrinking process itself is also much faster than stated on the packaging. Attention is required because the time window is smaller than expected. But anyone who has developed a bit of a routine after the third or fourth sample will quickly be bubbling over with new ideas.

I, for one, am very excited and have already thought about other projects (no frills). So: definitely try it out and get creative yourself!